Have you ever passed by a really good looking car along your way? Your first thought is how they make it. You can do it, too. Swirls on a car are the most common reason why your car might not look good. The circular marks are making the paint look old and neglected. Moreover, they are not good for the paint, because they can damage it in the long run. So, take a moment to see our suggestions for how to remove swirl marks. For this guide we’re using an electric buffer. Later on, we will add a guide on how to remove swirl marks with sand paper.
DetailXPerts’ 10-Step Process on How to Remove Swirl Marks
 1. Inspect the Swirl Marks
 1. Inspect the Swirl Marks
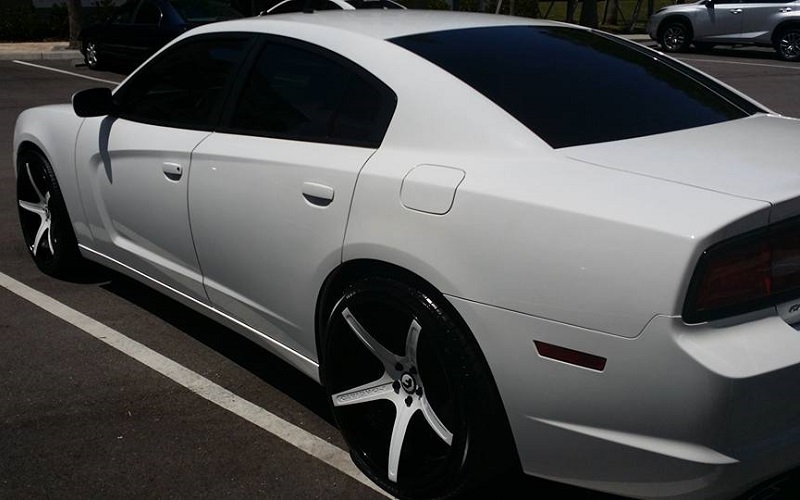
Choose the correct place where you will explore your car for swirl marks. Go to a place with a lot of natural light during a sunny day. Make sure you inspect the damaged places from different angles. This will allow you to gain a better understanding of the entirety of the problem. It would be wise to also ask for another pair of eyes to run a second inspection. However, do not share with the other person where you see the swirl marks and how big they are. Just let them do it on their own terms. Thus, you will not affect their judgement and get a more valid opinion.
2. Determine How Deep the Swirls Are
 2. Determine How Deep the Swirls Are
Knowing how deep the damage goes into the layers of clear coating that protects the paint will determine the best way how to remove swirl marks. Higher-end vehicles have 8-9 layers of protection, while others may have just 2 or 3. Professional detailers easily spot the difference and can immediately recognize the depth of the swirl marks. If they are deep into coating, professional scratch removal products will come into use. If not, the car scratch repair will be easier and faster to fix.
For a DIY-er it may be a little more difficult. You need to run your hand over the vehicle’s surface and feel the scratches. Then repeat this gently with a finger nail. The general rule of thumb is that if you feel the scratch with your nail, it is most probably gotten deeply through the clear coating and into the paint. In this case, you may be able to soften the scratch, but will not be able to remove it without damaging the paint. Professionals would recommend taking it to a body shop for thorough repair.
Another way to check the depth of the swirl marks is to spray water over them. If you can see them through the water, they are deep.
3. Move to a Shaded Area
 3. Move to a Shaded Area
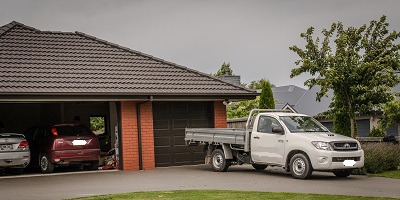
After you point the swirls out and determine how deep they are, you need to move the car to a shade. A garage would be best. Thus, no dust will stick to the surface while you are buffing a car.
4. Pull Your Tools Together
 4. Pull Your Tools Together
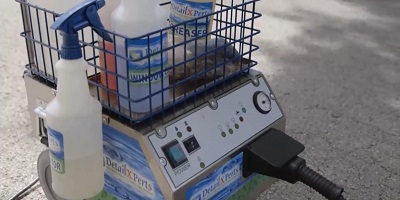
Now that you know how deep and wide your swirl marks are, you need to determine what products you’ll need to remove them. Get all your tools and equipment ready – clay bar, microfiber towels, buffer and pads, wax, etc.
5. How to Remove Swirl Marks If the Car Is Dirty?
 5. How to Remove Swirl Marks If the Car Is Dirty?
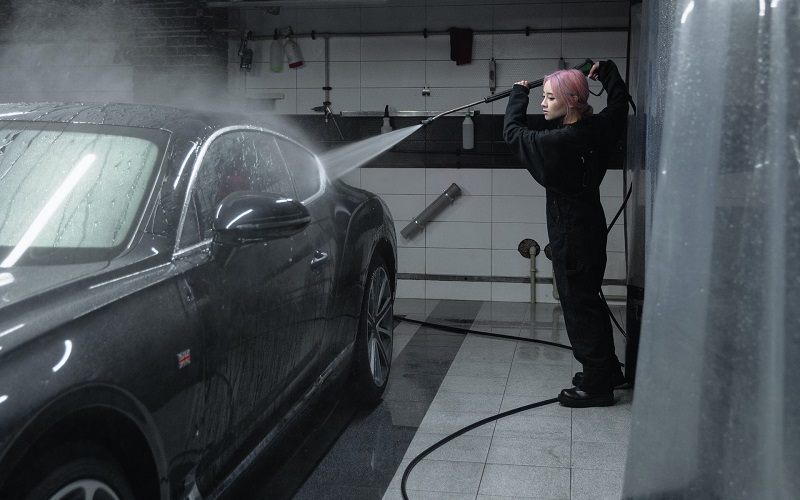
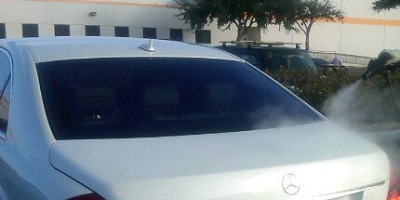
Before you get into the nuts and bolts of how to remove swirl marks, you need to wash and dry the car. Better yet, do a full exterior detail procedure, preferably with steam. This step is important because the car should be completely clean. Otherwise, when you remove car paint swirls, you will further damage the paint. Moreover, remove any stuck bugs, leaves, or tree sap as well. Steam cleaning your car will do this work perfectly well.
6. Clay Barring
 6. Clay Barring
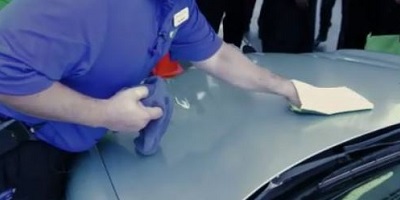
Next you should use a car detailing clay bar to remove any paint decontamination. When you drive your car faster, many small particles stick into the swirl marks. That is why all small particles that have not been removed during the previous step, will now stick to the clay bar. You should clean until the clay becomes grey. This means all dirt has been removed from the place.
Instead of a clay bar, you can use a wash mitt as shown in the photo. Either of them will make the surface slither. In turn, this facilitates the process of how to remove swirl marks.
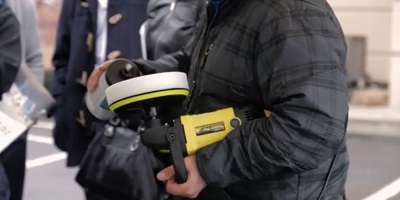
7. Select the Suitable Pad and Product for Buffing
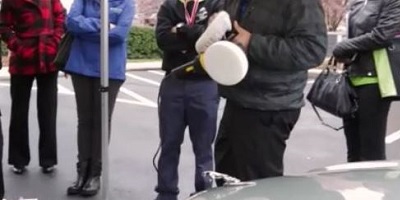 7. Select the Suitable Pad and Product for Buffing
Depending on the severity of the problem, choose the buffer pad and compound that will give you the necessary level of abrasiveness. The deeper the swirls, the more aggressive these should be. Additionally, you may need to switch form one level of abrasiveness to another as you are buffing your car.
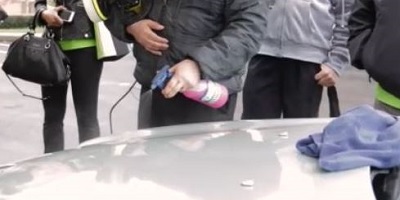
8. Apply the Compound
 8. Apply the Compound
Put a small amount of the compounding product you have chosen to work with on the buffer pad. Be careful and avoid excessive quantities. Additionally, you may want to pre-damp the pad with a tiny bit of liquid wax to enhance the effect.
9. Buff the Swirl Marks Away
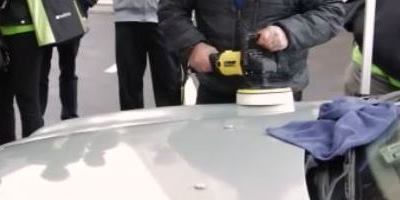 9. Buff the Swirl Marks Away
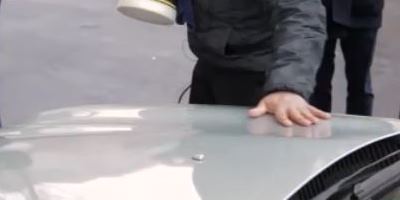
Before you turn on the buffing machine, make sure it is almost touching the surface. Otherwise, you will see compound flying around. Same is valid when you stop it.
Work in small areas or you might cause more swirls than you fix. Smear the product out and spread it. Then, turn the buffer on and start working on the surface slowly, applying little pressure. Make sure you don’t press too hard or have the buffer spin too fast (until you master it). If you do, you risk burning the coating too deeply and damaging the paint underneath.
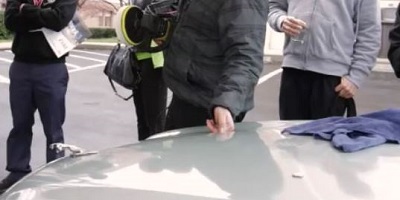
Once you finish with an area, wipe it with a microfiber cloth and inspect it for imperfections. Repeat if necessary. If not, move on to the next area.
Small piece of advice – when you are buffing, make sure you cover the whole area, not just the part with swirl marks on it. After all, you don’t want half of your hood shining and the other half looking dull, do you?
10. Seal with Wax
 10. Seal with Wax
You don’t know to remove swirl marks if you don’t know how to finalize the process with wax. Wax is a must-have element for the finished car. Not only does it protect against the sun’s UV rays, but it also prevents the paint from fading. Moreover, wax protects the paint from the aggressive effect of bird feces. Finally, it will prevent new swirls marks from appearing easily on your beloved car’s surface.
Regardless of the type of wax you are using – liquid, paste, or else – carefully follow the instructions to get best results. Choose a long-lasting car wax product that will give you the best bang for your dollars.
In Conclusion
There you go, now you know how to remove swirls marks as a professional. It is a rewarding experience to see how your vehicle comes back to a state of beauty and glamour. However, as you may have noticed, it takes some time, skills, and experience. If you are hesitant to do it yourself, we are here to help. Schedule an appointment with DetailXPerts and our professional and polite detailers will take care of your car’s swirl marks and detailing needs.
Enjoyed this post? Follow DetailXPerts on Pinterest – we have a dedicated board on car restoration that’s worth taking a further look.