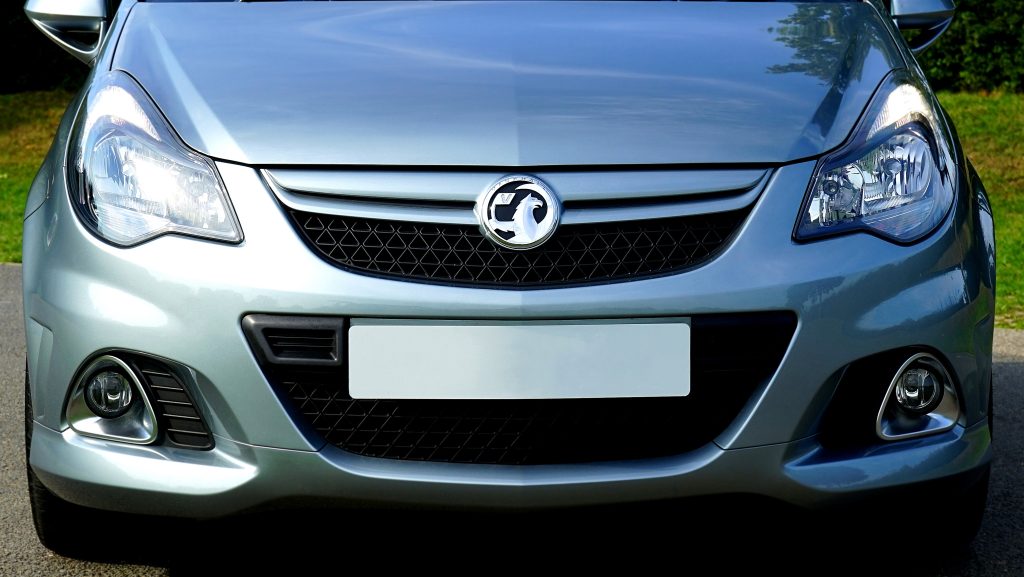
Over time, headlights lose their ‘new’ look no matter how much your car is washed. For example, they begin to turn yellow, foggy, or look faded in some way. These 5 steps for DIY headlights restoration help car owners reverse the damage.
DIY Headlights Restoration Problems That Occur
Yellow Headlights
Like the rest of a car, headlights possess a clear coat finish on them as well. After an excessive amount of wear from damaging materials, pollution, and aging the clear coat starts to deteriorate. Additionally, their prolonged exposure to sunlight dissolves the plastic and causes them to turn yellow.
Foggy Headlights
The culprit to foggy headlights? The combination of sunlight and grime build-up. Unless you are regularly sanding and polishing your headlights, this is bound to happen.
Scratches on Headlights
You probably noticed your headlights having scratches or other marks on them. This issue comes from regular wear and tear as well as random debris from the road hitting the plastic.
5 Steps to DIY Headlights Restoration
All of the above mentioned problems are easily fixable and preventable. Honestly, unless there is regular maintenance done on your headlights the occurrence of these problems is quite common.
1. Cleaning
Before dealing with most forms of damage on your car, washing it is a good first step. This rids your car of any debris, dirt, or dust that might cause more scratches by rubbing it against the car surface. There are multiple methods to choose from for cleaning your car, whether you do it yourself or get it done professionally.
2. Taping
Taping is an extremely important step, preventing different areas of your car from being damaged. The rest of the steps to restoring your vehicle involves using water, chemicals, and other materials required for treating your headlights. In order to tape a car, you will need blue masking tape to outline the damaged area.
3. Sanding
For DIY headlights restoration sanding is the main solution to these problems. However, multiple grits of sandpaper are necessary. You will more than likely require sandpaper at 400, 800, 1000, and 2500 grit depending on the situation. In addition, it’s also imperative that you keep your headlights wet while sanding them. An easy method involves keeping a spray bottle with water in it nearby. First, sand the blemished area with the lowest grit of sandpaper. If this doesn’t work, go with the tougher sheets. However, remember if you must switch to a different grit of sandpaper to wash your headlights before each sanding.
4. Polishing/Buffing
Polishing your car helps put some finishing touches on it. If you were fixing yellow or foggy headlights this helps make them clearer. However, after working on the scratches, this can help remove the damage completely. For this method, it is best to use a microfiber towel, buffing pad, or machine.
5. Sealing and Waxing
Despite common belief, polishing and waxing a car are two different things. The final step to finish the DIY headlights restoration is sealing or waxing your car. This helps prevent the problem from occurring again. In addition, it adds an extra protective coat to keep your headlights safe from road debris, salt, and other hazards that might cause foggy, yellow, or scratched headlights.
Conclusion
Restoring headlights is not an easy task, but with a little elbow grease and proper instruction, it is completely doable. However, remember it can be a time-consuming process. If DIY headlights restoration seems like too much trouble, consider scheduling an appointment with DetailXPerts. Our wonderful technicians clean and restore your car with our patent-pending steam technology.
Enjoyed this post? Sign up for our newsletter to receive more valuable tips, ideas, coupons, and extras!


