A windshield crack or chip by any other size, is still a crack. To prevent a time-consuming repair, use the Rain-X Windshield Repair Kit. The Rain-X Windshield Repair Kit is a DIY repair magic that works best on car windshield cracks, most especially those that have been recently damaged. In fact, reviews have stated that Rain X products such as the Rain-X headlight restoration kit and the Rain-X windshield repair kit have been favored by most people today because these products work provided you follow the instructions carefully.
Most windshield cracks, whether caused by natural force or by unforeseen events, are easily contaminated by dirt and water. With the Rain-X Windshield Repair, your windshield crack is fixed in no time, at a lesser cost. This will prevent dirt and water from seeping through your car windows. The repair kit is composed of 1 gram bottle of resin repair, repair device, curing strips, and sleeved razor blade.
Use the Rain-X Windshield Repair before the cracks make a nasty spread on your windshield. The windshield repair kit not only fixes your cracks, but also makes it stronger. The resin repair fills the crack and hardens the gap thus making it durable. Its highly adaptable formula makes the rain-x windshield repair good on laminated windshield.
The repair kit is also easy to apply. In less than an hour, your windshield will look good as new, as the resin blends well with the windshield. If you apply the Rain-X Windshield, you can have clean car windows without hassle. Aside from that, waxing car windows will be easy.
Features – Rain X Windshield repair kit
The Rain-X Windshield Repair Kit is so simple to apply. It is a value for money as it can be used for multiple repairs. The kit is complete with resin repair, repair device, curing strips and razor blade, which guarantees quick and uncomplicated repair. All types of laminated windshields are repaired. It works like magic and minimizes the appearance of chips and cracks and stops them from spreading.
Applying Rain X Windshield repair
The Rain-X Windshield repair works best when the crack is fresh. Before commencing the repair, remove dust and dirt using a clean microfiber towel or other tools for cleaning your windows. Below is a step-by-step guide to repair your windshield cracks and chips using Rain X Windshield repair:
- Remove loose glass fragments by scraping over it with a razor blade. Affix the applicator base to the windshield. Place the center ring above the break and put the suction cups to the windshield. Do not allow the suction cups to cover any cracks extending from the central impact point. You can adjust the suction cups as the legs are quite flexible.
- Screw the resin chamber into the center ring until touching impact point. The device is bendable so you can re-maneuver the device until the rubber mouth is directly on top of the impact point. Check the alignment from inside the car. Screw down the resin chamber (turning clockwise) so the rubber mouth is flat against the windshield. Remember to turn it completely, but gently, so it touches the glass. Excessive pressure will alter the original curve of the glass affecting the flow of the repair resin and effectiveness of the repair.
- Squeeze 3-6 drops of the repair resin (drops may increase depending on the extent of the damage) into the resin chamber. Turn the resin chamber clockwise if resin leaks out of the bottom of resin chamber.
- Screw pressure driver into the resin chamber to drive the resin into the break. Tighten until the pressure is almost screwed all the way in. Make sure the rubber mouth has opened wide. Allow 4-6 minutes, depending on the extent of the damage. Apply heat on the windshield with a hot air gun.
- Unscrew and remove pressure driver from the resin chamber to release any air trapped in the chamber. Make sure there is no air bubble remaining in the break, by looking at the glass at an angle of 450. For chips or bull’s eyes, examine the glass from behind the damage area. Repeat step 4 or 5 until your desired results are achieved. Make sure there is enough repair resin or add more repair resin if needed.
- Remove the device by turning the resin chamber and pressure driver together to counter clockwise. Wipe excess repair so it will not drip down the chamber. Add a drop of the repair resin in areas where there is still visible damage. Cover it with a curing strip for the finishing touches.
- When the entire application is complete, move the car to direct sunlight for about 5 to 10 minutes. Remove curing strips. Scrape clean the hardened excess resin with the razor blade.
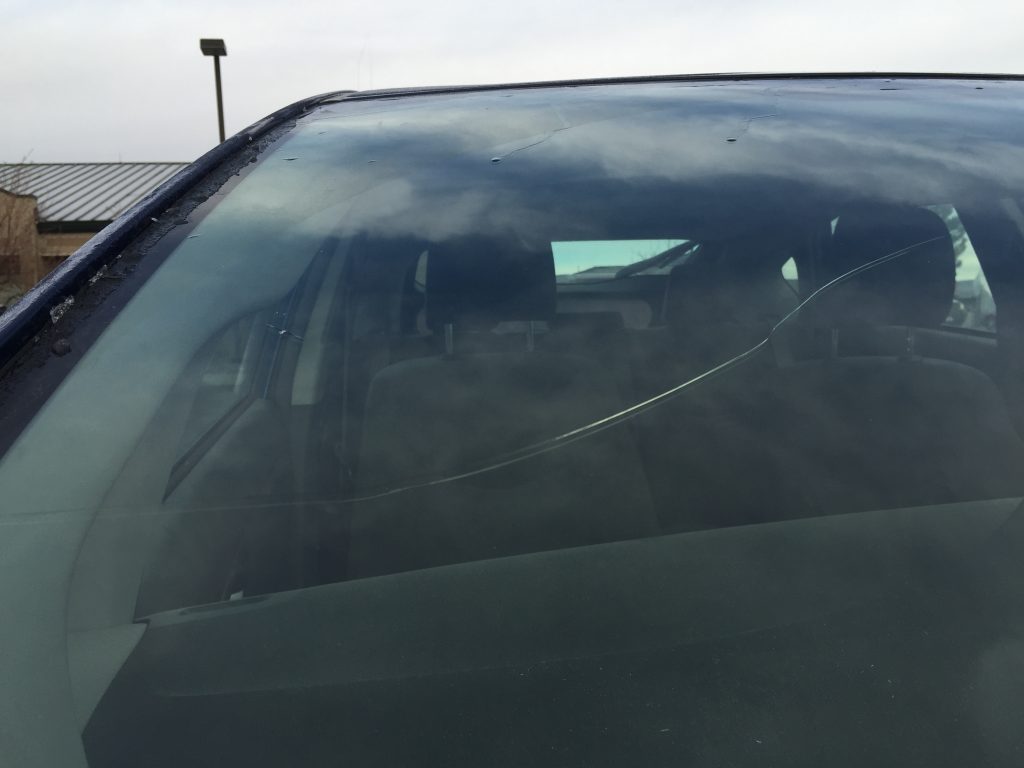
The most successful repairs are when it is done soon after the damage occurs. Be mindful that it may not work, when the crack is over 12 inches in length and extends to the edge of the windshield. The repair also won’t work if the crack is not in the outer layer of glass.
The next time your car windows need to be fixed, don’t procrastinate. Use the Rain-X Windshield Repair and check out our fully illustrated step-by-step guide to repair your windshield cracks and chips. If you’d prefer to have a professional tackle this task, check out our specialty detailing services, we offer world class windshield repair.
Enjoyed this post? Sign up for our newsletter to receive more valuable tips, ideas, coupons, and extras!