You like to learn DIY car wash because you’ve always taken pride in doing things on your own. Or maybe you simply want to save some cash. After all, professional detailing services do not come cheap. Whatever your reason is, rest assured that DetailXPerts can help you out.
Like you, we love vehicles, and there’s nothing we want more than seeing showroom shiny vehicles, inside and out. So, without further ado, here are some tips for you, DIY car wash warrior!
10 Tips for the DIY Car Wash First-Timer
Before anything else, we suggest you learn some basic detailing procedures. This will facilitate the process and ensure you use the right tools and materials.
1. Have a Detailing Checklist
This way, you won’t miss a step or lack the essential auto detailing supplies. Having a checklist will save you a lot of time and effort. What to put on your checklist? Here are some suggestions:
- Choose the right location
- Inspect your vehicle thoroughly. Does it have minor scratches or paint swirls? Does it require engine bay cleaning?
- Gather all the materials needed:
- 2 buckets with grit guards;
- water source;
- car wash shampoo;
- set of detailing brushes;
- microfiber towels;
- clay bar;
- wax;
- glass cleaner;
- and other car wash equipment tools
- Clean tires
- Wash exterior from top to bottom
- Clean interior – seats, carpets, dashboard, etc
- Wax
2. A DIY Car Wash in the Right Location
Not only is washing your car under direct sunlight going to turn you into a roast – doing so can dry up soap faster, leaving hard water spots that can be difficult to remove later on. And if possible, clean your car on a grassy area so that wastewater will be absorbed by the soil.
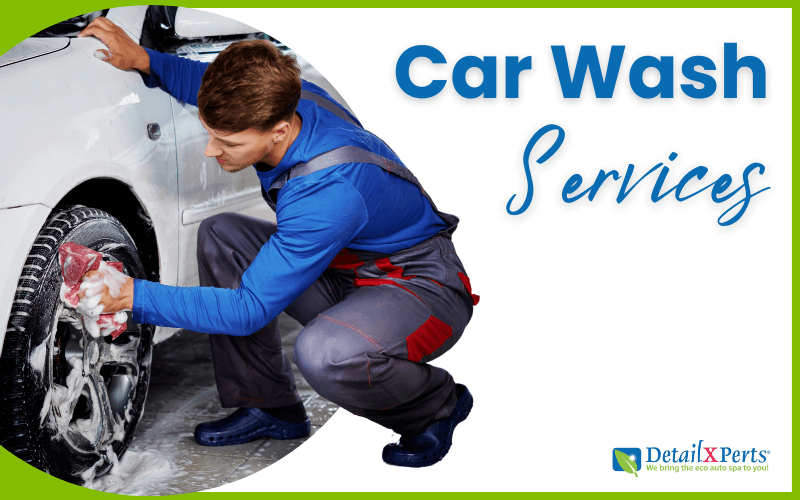
3. Always Pressure Wash Your Tires and Wheels First
Your tires and wheels are the dirtiest parts of your vehicle. They’re typically covered with mud, road salt, sand, and other contaminants. You wouldn’t want all that dirt to be sprayed back into your newly-cleaned car, right?
To clean your tires and wheels fast, try using a pressure washer. But you don’t just use it. There’s a right way to use a pressure washer. This will ensure that your tires and wheels get the initial cleaning they need without damage.
4. Start Cleaning from the Top
Once you’ve cleaned all the wheels and tires, start your DIY car wash from the roof going down. This will save you water and cleaning products and at the same time prevent scratching and cross-contamination. Also, soap and rinse section by section to prevent soap from drying up. This will prevent hard water spots that can be too difficult to remove later on.
5. Do not Scrimp on Auto Detailing Supplies
No, we’re not suggesting you buy the most expensive products on the market, because we know that price doesn’t always mean value. Do your research. Ask family, neighbors, and friends. Read online reviews, so you’ll have an idea which products work and which don’t. And before you buy anything, read labels carefully. There are car wash supplies that contain toxic substances. As much as possible, use environmentally-friendly cleaning products. They’re good for you, your vehicle, and the environment.
6. Do not Use a Sponge on a DIY Car Wash
If there’s one thing that we wouldn’t want to use on our customers’ cars (because we don’t even use them for our own), it’s a sponge. Sure, a sponge may seem to attract dust, dirt, and other contaminants. In reality, all those contaminants are just embedded into the sponge. Those contaminants will resurface on the sponge. Once they get in contact with your paint, swirls and scratches are likely to occur.
7. Dry Everything Thoroughly
As car cleaning experts say, your car is not clean enough if it isn’t dried enough. It’s because tiny droplets of water left from washing may still contain contaminants – salt, dust, dirt – the perfect combination for rust to happen. Select and use one of the drying techniques depending on the type and size of your vehicle and the kind of paint it has.
8. Don’t Use a Buffer Yet
A buffer is a very good tool for car detailing – if you know how to use it properly. You have to have enough experience. Otherwise, you run the risk of damaging your car’s paint. It’s because a buffer doesn’t really remove a car scratch or paint swirl. What it does it slightly cut through the paint to reveal the layer underneath. This is why you need to know how to hold the buffer properly, how much pressure to use, along with other car buffering techniques, tips, and tricks brought about by experience and expertise.
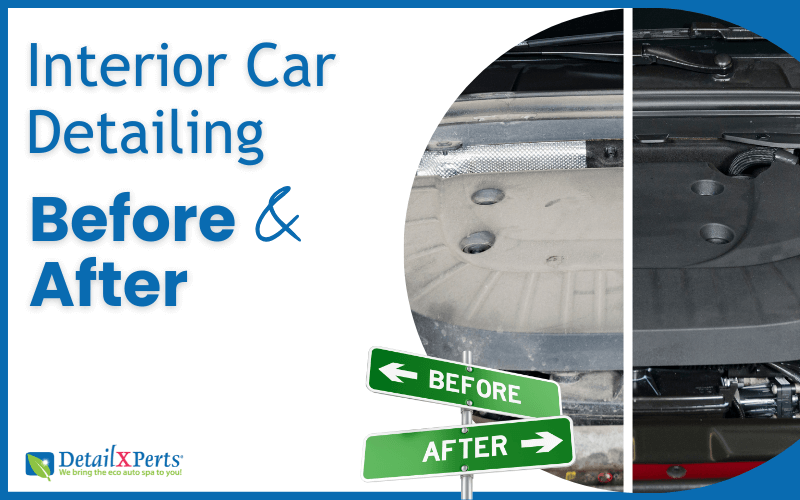
9. Clean the Interior Thoroughly
Great! Your car sparkles on the outside. But how about the inside? Make sure you clean every nook and cranny. Steam clean and condition the car seats, carpets, and upholstery. And while you’re still at it, steam clean the vents too, to kill germs and bacteria that may compromise you and your passengers’ health and well-being. Need to know more about which areas to clean? Here are some basic interior detailing tips.
10. Finalize Your DIY Car Wash with Finesse
Wax your car after cleaning. This will not only make it shiny, but it will also keep off contaminants from your paint.
If your doors give a squeaky sound each time you open and close them, then it’s time to lubricate the hinges. Put a few drops of motor oil on a clean cloth and use it to lubricate the hinges. This should be done when your vehicle’s all clean and dry.
Apply tire shine, so they’ll match the sparkling appearance of your car’s exterior paint.
Dare to try a thorough DIY car wash? You can use this guide anytime. However, if you find DIY car wash too physically taxing or time-consuming, you can always schedule an appointment with DetailXPerts to have your prized possession detailed professionally.
Enjoyed this post? Sign up for our newsletter to receive more valuable tips, ideas, coupons, and extras!


