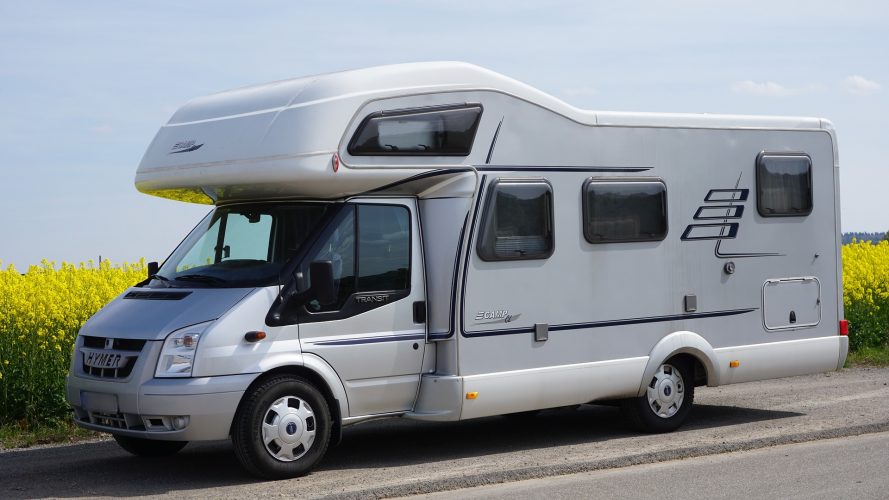
Camping is becoming more popular among Americans every day. It is estimated that around 13 million families in the US went camping in 2017, and roughly 6.75 million of these households own a recreational vehicle. However, if you own a camper it is important to know how to properly wash it. Here are the steps on how to wash a camper.
How to Wash a Camper: A Step-by-Step Guide
Preparation
First, park your camper in a shady area before cleaning anything. Make sure you have the right supplies for cleaning your camper. For example, a long-handled brush and ladder are two of the most important products. Additionally, everything else such as water, hose, buckets, and soap for cleaning an RV should be easily accessible. The most efficient way of washing an RV is from the top to the bottom.
Determine the Type of Material
Before beginning it is essential to consider what material your camper is made of. A specific cleaning chemical is necessary for RVs with a rubber rooftop. However, if the roof is fiberglass, it is washed in the same way as the rest of the travel trailer.
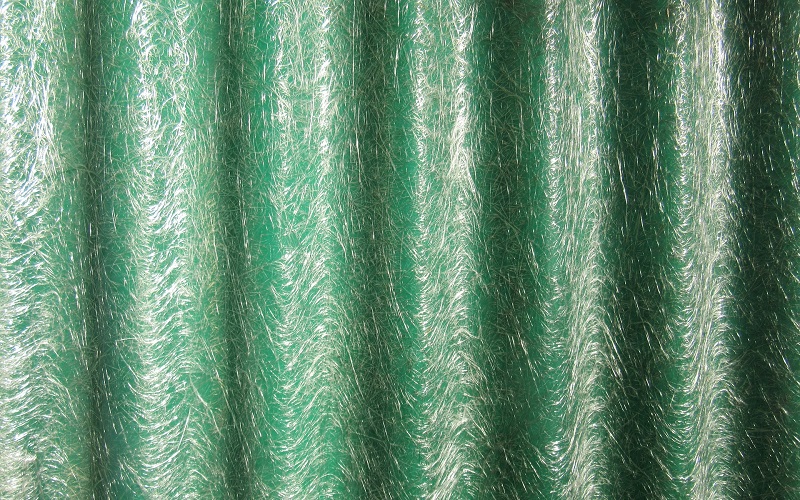
After figuring out the material of the roof, make sure to check the rest of the RV. The majority of campers are made of metal and/or fiberglass. However, metal requires special materials and chemicals as well. With fiberglass, the most common material, regular car wash products work to clean efficiently.
Cleaning the Camper
1. The Roof
Start by cleaning the roof, using the ladder and long-handled brush to reach the entire surface. Begin by spraying the surface with water and then scrubbing it with a soapy brush. Simply rinse the roof once you wash each area.
2. The Walls
The top of the walls will likely require a long-handled brush as well. The same process occurs on the walls as the roof. Rinse it with water before using soap on the surface. However, using a harder bristled brush is recommended for cleaning walls, making it easier to clean mold and grime.
3. Awning
Cleaning an awning requires two steps. The first is the actual cleaning and the second is protection against the outside elements.
3.1. Cleaning
A recommended way of washing the awning is to detach the legs and let it lay against the side of the camper. This allows it to stay in place while you scrub the top of the material.
3.2. Protecting
After you thoroughly wipe down the awning, find a spray made for protecting outdoor fabrics or vinyl surfaces. Once you research and find the right product, apply the spray evenly. This will protect it from water, staining, and lengthen the life of the material. In addition, since the spray protects from water the awning is less likely to mildew. You need to apply the product regularly to restore the protective layer.
4. Gaskets
Gaskets are the rubber, weather-proofing seals that surround the windows and door on the camper. The gaskets are one of the easiest steps in this how to wash your camper guide. Simply apply a silicone-based spray to protect the material from the sun. If they are dirty, you can wipe them down with a damp towel before applying any spray.
5. Wheels and Rims
Cleaning wheels and rims on a camper is similar to cleaning those of a car. Use the appropriate cleaner depending on the material. While you are cleaning make sure to check the condition of the tires and rims to make sure they have no cracks or weather damage.
How to Wash a Camper Professionally
Overall, washing your camper can be a time-consuming process. Professionals already have the tools and knowledge to get the job done well while saving you time. Consider DetailXPerts to professionally detail and pamper your camper! We are an eco-friendly, well-organized auto with specially-trained technicians to perform work on a multitude of vehicles. Schedule an appointment today.
Enjoyed this post? Sign up for our newsletter to receive more valuable tips, ideas, coupons, and extras!


