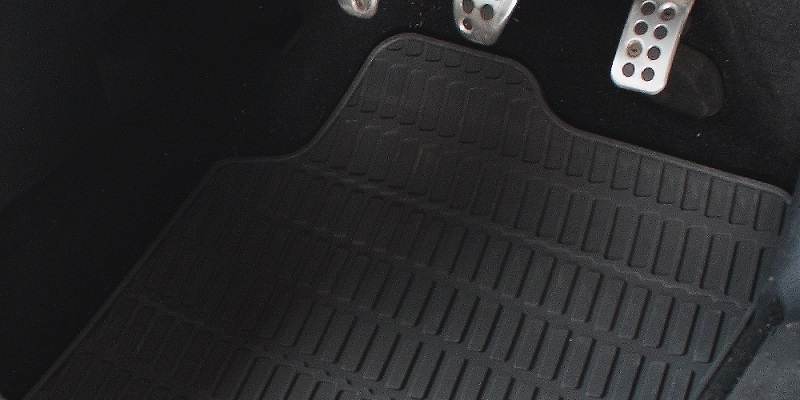
Rubber car mats are great when you regularly transport passengers who have a tendency to spill food and drinks on the car floor. Toddlers can’t hold onto their sippy cups very well, and your arthritic father may drop his water bottle every now and then. In these instances, a tough, easy-to-clean material like rubber is a true lifesaver. Learning how to clean rubber car mats in an effective way doesn’t have to be very difficult.
While rubber mats are relatively cheap and easy to replace, you still want to maximize their worth and usefulness. That’s why you should know how to clean rubber car mats effectively and quickly. After all, you need them back on the job as soon as possible.
How to Clean Rubber Car Mats – Quick and Easy
Rubber is a great car mat material because of its staying power, durability, and low maintenance requirement. However, it doesn’t mean that you can just put the mat in your car and forget about it. You will want to see the original color of your mats every now and then. To achieve it, you need to take them out for regular cleaning.
Make your cleaning chore a snap by following these simple steps on how to clean rubber car mats:
Step 1 – Pull Your Rubber Floor Mats and Linings out of the Vehicle
Shake it out vigorously to get rid of loose debris and food particles. Your rubber mat has seen better days, but before you attack it with a cleanser and brush, you might be able to eliminate some of the dirt without breaking a sweat just yet.
Step 2 – Rinse and Wash
Rinse and wash the floor mat with water and a cleaning solution of your choice. A high-pressure hose would be perfect to get rid of the stubborn grit that has clung to your floor mats for months, maybe even years. For the cleaning solution, choose something that is mild enough to be used on rubber materials.
Step 3 – Scrub the Mats Thoroughly
The next step in our how to clean rubber car mats guide is thorough scrubbing. You can use a tire brush or any brush with long, stiff bristles to get rid of caked mud and grime that has worked into the grooves and dimples of your mat. The bristles must be long enough to reach into the deepest parts of your mat.
Step 4 – Wipe the Rubber Mats Dry
You can do it with a lint-free cloth or a microfiber towel. Drying a rubber mat in the sun is not a good idea as it will encourage cracking and fading. Instead, the best thing to do is to pick up a clean cloth and wipe the mats dry one by one. You can allow them to air dry in a shaded area as well, if you want to ensure that they are ready for the next step.
Step 5 – Lock in the Color and Freshness
Use a treatment product to lock in the color and freshness of your rubber mat. Don’t ever use an exterior protectant for your rubber mat, even though it’s specially formulated for rubberized materials. Make sure that your chosen treatment product does not dry with a slick finish. Otherwise, you’ll be left with a slippery rubber mat. Pick something that has silicone in it because it is great at repelling water. You can’t have a clean but slippery mat, can you?
Enjoyed this post? Sign up for our newsletter to receive more valuable tips, ideas, coupons, and extras!


