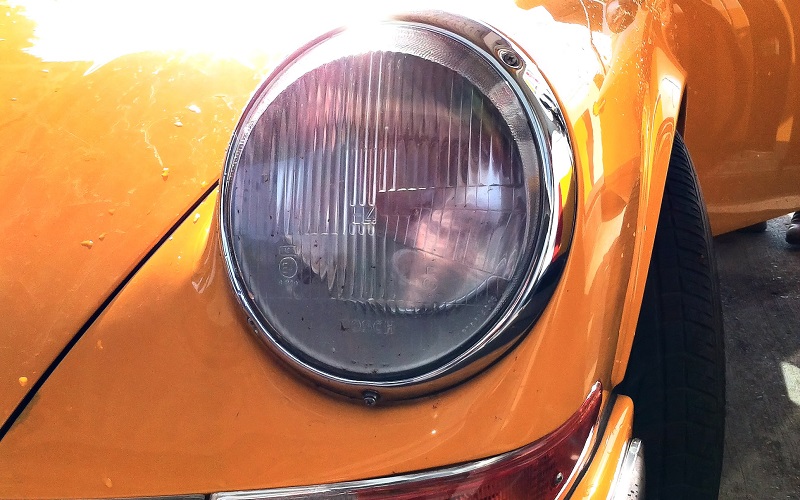
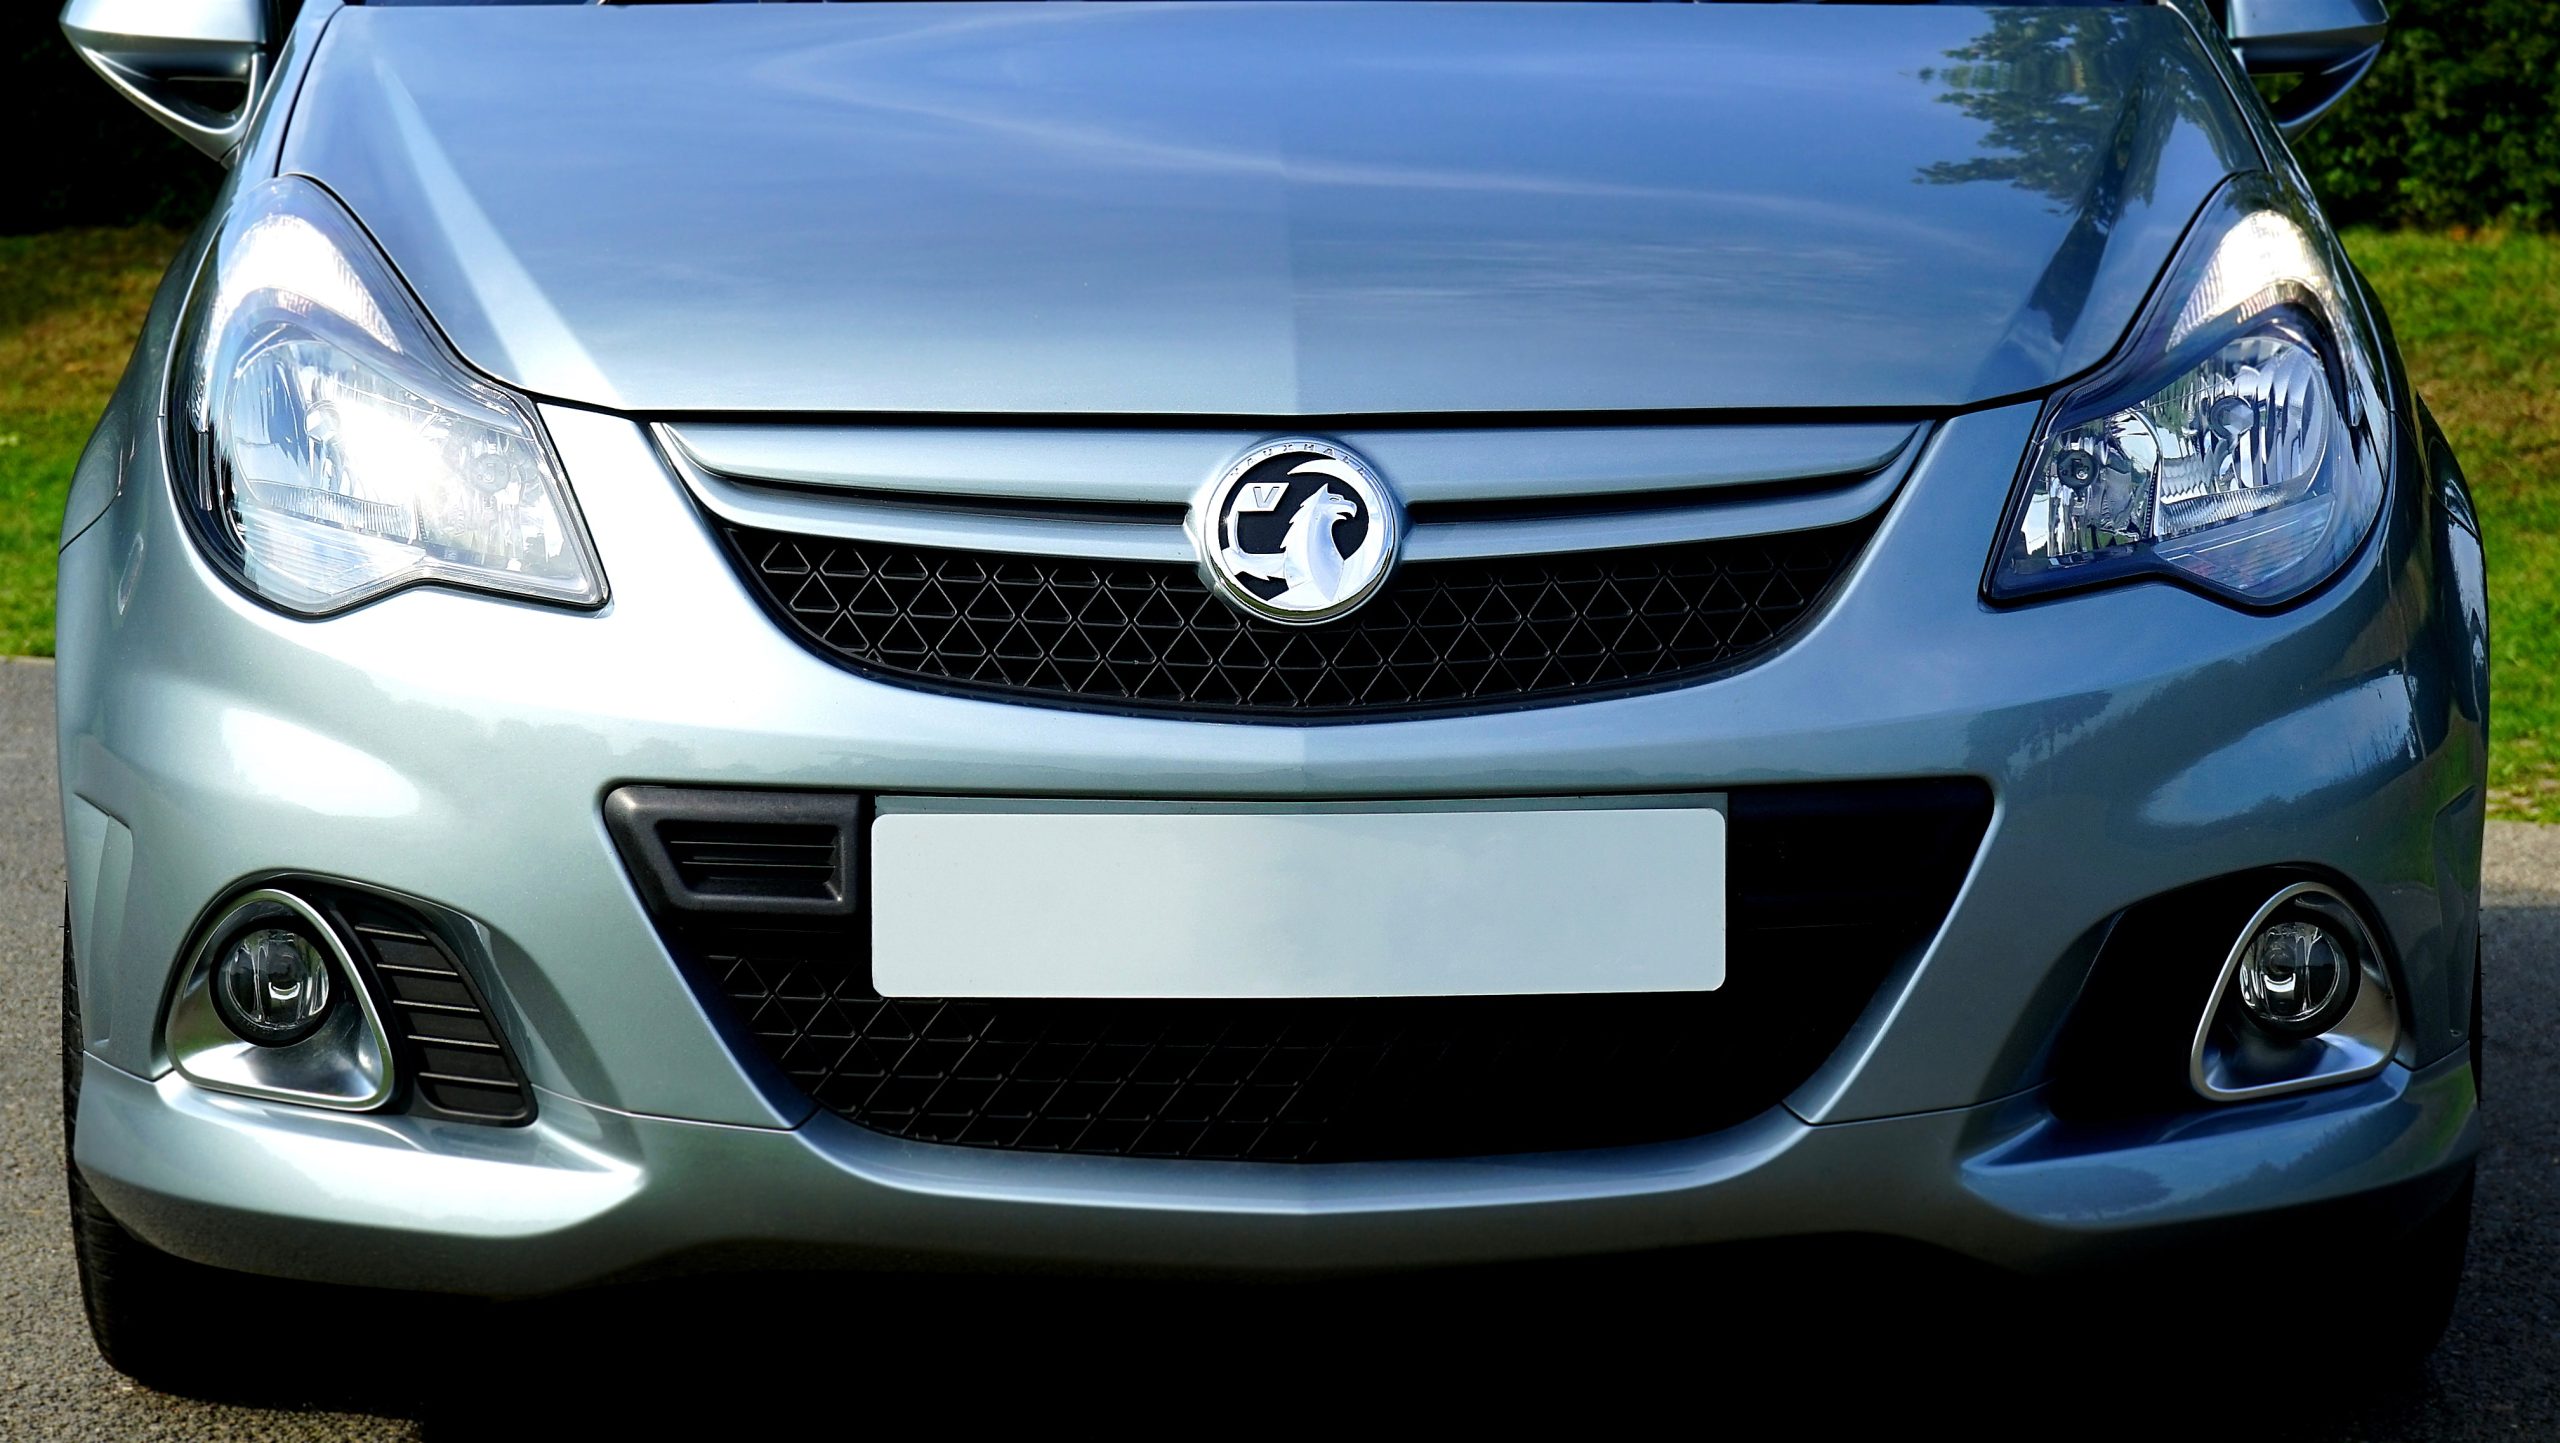
Have you noticed how your headlights seem to be turning murky and dim over time? You might have thought that the bulbs need to be swapped out, but sometimes the problem is much simpler than needing replacement bulbs for your headlight. Headlights yellowing is a rather common occurrence and you can definitely spot these unsightly parts on cars of all shapes and sizes. However, you don’t have to live with ugly headlights for the rest of your car’s lifetime. You can prevent headlights yellowing by doing a bit of easy cleaning every few weeks.
Why Get Rid of Headlights Yellowing
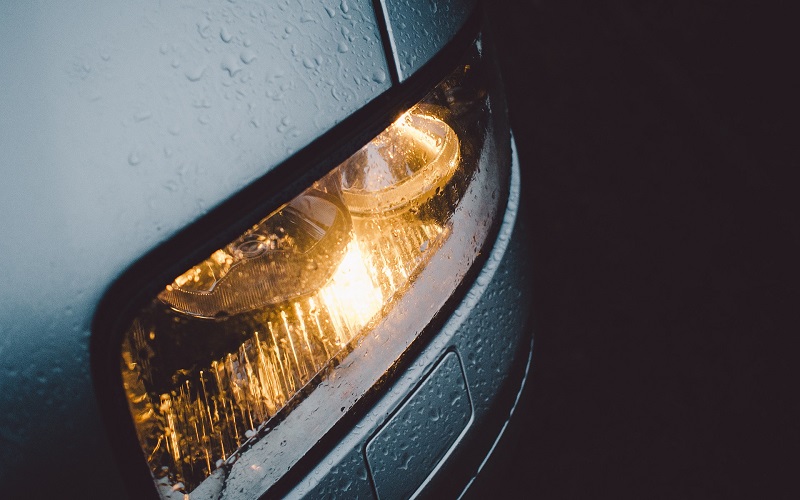
Milky headlights don’t just downgrade your car’s overall appearance. It can also become a safety concern when you’re driving at night or under bad weather conditions. How many times have you missed the correct street or ramp just because you didn’t see the road signs in time? Or how many times have you struggled to drive turtle-slow on rain-slick roads because you can’t see more than two feet ahead of your front bumper?
How Headlights Get Yellow
Constant exposure to air pollution, road dust, ultraviolet rays from the sun, and other everyday contaminants will eventually wear away the crystal clear brightness of your headlights. Most cars today come with plastic headlights. The harmful elements can turn them yellow if you’re not careful about keeping them clean and shiny. Older models that come with glass headlights will not suffer yellowing, but, of course, they are much more fragile and prone to permanent damage.
The good news is that your plastic headlights usually sustain only superficial damage. With a bit of work and the right tools, you can restore your headlights to a sparkling shine in no time at all. Allowing the headlights to wallow in their murky state will only make the plastic brittle and dry over time. Soon enough you will see small hairline cracks developing on the lenses.
Getting Started
To begin your headlights yellowing restoration work, grab a reputable headlamp repair kit from your detailer’s shop or from a hardware store. The kit will contain everything you need to do the job properly. That would include several pieces of varied grade sandpaper and latex gloves to polishing compound. Throw in a couple of soft sponges to work with and you’re ready to get as close to a clear factory finish as you can.
Removing Headlights Yellowing
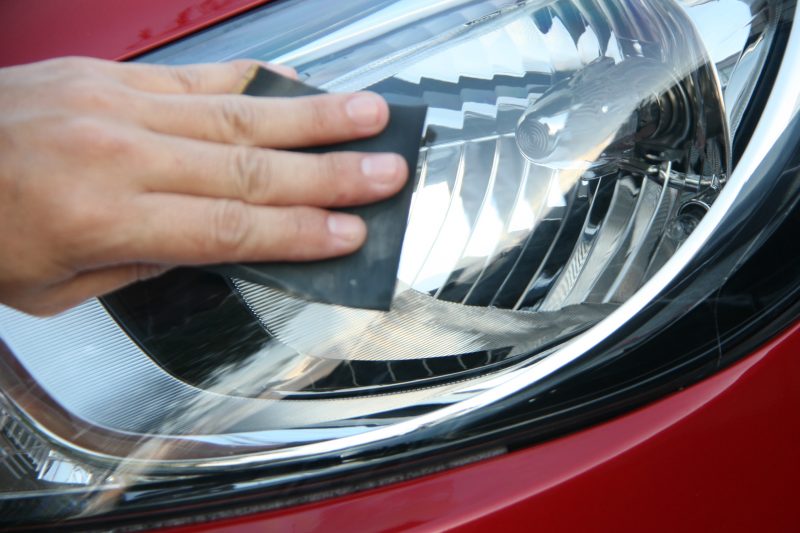
Because your headlights are made of plastic, you can easily get rid of the dirt by using wet sandpaper on them. This will take you anything from twenty to forty-five minutes, depending on how far along the yellowing has damaged the surface. This process will also feather out the small gouges on the lens, giving you a flat and clean surface to apply the polishing compound on.
To seal your headlight’s clarity, you can also purchase two extra products: a small tube of headlight restoration crème and a bottle of clear coat sealer. While these two kit-exclusive products will jack up the restoration cost a bit, the results you will get after the cleanup will definitely be worth the extra investment.
Read more about cleaning your car’s headlights on our blog.
Enjoyed this post? Sign up for our newsletter to receive more valuable tips, ideas, coupons, and extras!


